5 Foam Rolling Tips for BJJ Recovery
Daily 5–15 min foam rolling—focus hips, IT band/glutes, nasal breathing and stretching—to reduce soreness and speed BJJ recovery.
5 Foam Rolling Tips for BJJ Recovery
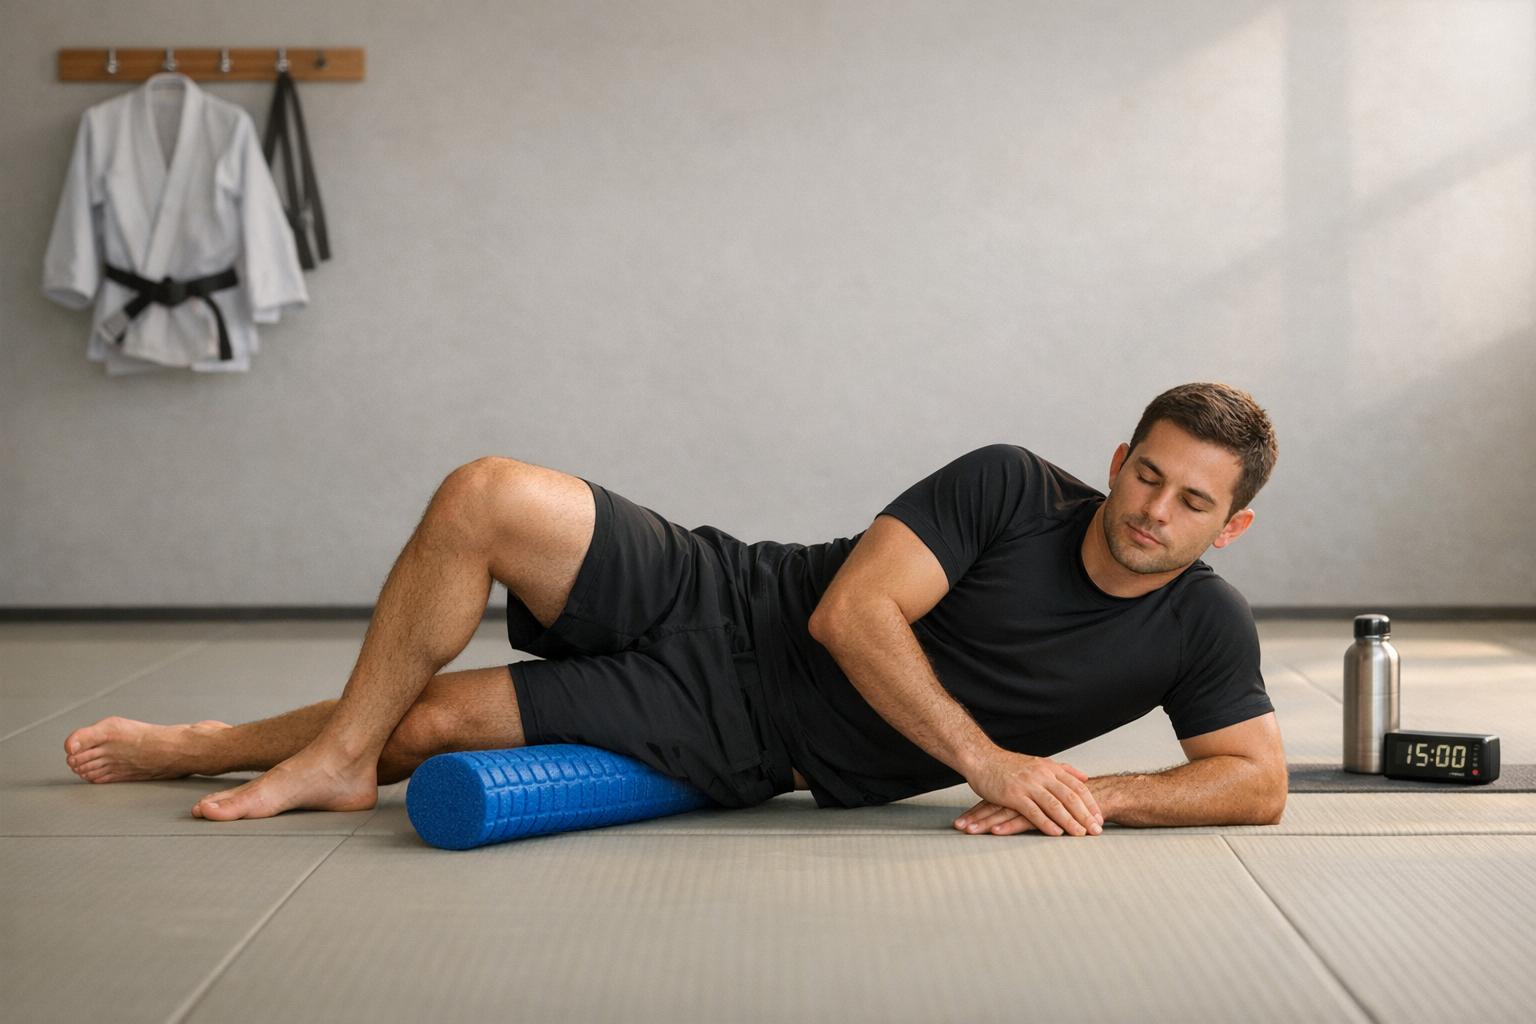
Foam rolling is one of the most effective ways to recover from training at your Brazilian Jiu-Jitsu (BJJ) gym. It helps reduce muscle soreness, improve flexibility, and prepare your body for the next session. Here’s what you need to know:
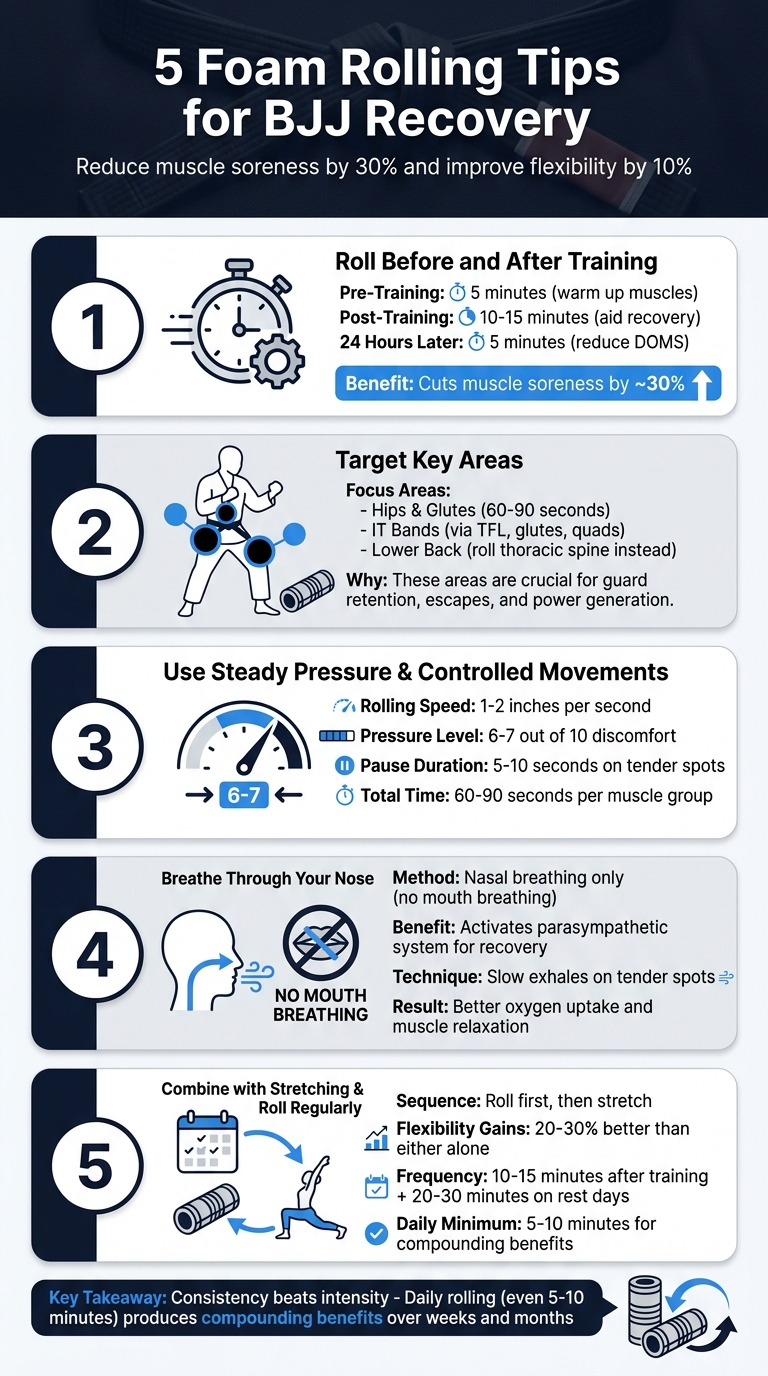
- Roll Before and After Training: Spend 5 minutes before training to warm up and 10–15 minutes after to aid recovery.
- Target Key Areas: Focus on hips, IT bands, and lower back to address tension in areas heavily used in BJJ.
- Use Slow, Steady Pressure: Move at 1–2 inches per second, pausing on tender spots for 5–10 seconds.
- Breathe Through Your Nose: Nasal breathing reduces tension and promotes relaxation during foam rolling.
- Pair with Stretching: Combine foam rolling with stretching to improve flexibility and reduce soreness.
Consistency is the key. Dedicate 5–15 minutes daily to foam rolling, and you’ll notice better recovery and reduced risk of injuries over time.
5 Foam Rolling Tips for BJJ Recovery and Muscle Soreness Reduction
Is foam rolling useful for BJJ recovery?
sbb-itb-d583f1e
1. Roll Before and After Training
Foam rolling can be a game-changer when used at the right times. Before training, spend about 5 minutes foam rolling to get your blood flowing. This isn't the time for deep tissue work - you're simply warming up your muscles and reducing any stiffness that might hold you back. Brian L., Co-Founder & Product Developer at 321 STRONG, puts it this way:
Pre-training rolling activates muscles and reduces tissue restriction before you load them [1].
Focus on the muscle groups that matter most for Brazilian Jiu-Jitsu (BJJ): your hip flexors, lats, and shoulders. Once you've rolled, follow up with some dynamic stretches like leg swings or arm circles to keep your body ready for action.
After training, the emphasis shifts to recovery. Dedicate 10–15 minutes to foam rolling all your major muscle groups. This helps flush out metabolic waste, reduce inflammation, and kickstart muscle repair. The benefits are backed by science - post-training foam rolling can cut delayed onset muscle soreness (DOMS) by around 30% [1].
Suggested Session Timing
| Session Timing | Duration | Primary Goal |
|---|---|---|
| Pre-Training | 5 Minutes | Loosen muscles and prepare for movement |
| Post-Training | 10–15 Minutes | Clear waste products and ease soreness |
| Per Muscle Group | 60–90 Seconds | Work out specific tight spots |
To stay ahead of soreness, add a quick 5-minute foam rolling session about 24 hours after training. This helps tackle peak DOMS and keeps your muscles from stiffening up before your next session.
2. Focus on Hips, IT Bands, and Lower Back
When it comes to foam rolling for Brazilian Jiu-Jitsu (BJJ), paying attention to your hips, IT bands, and lower back is crucial. These areas are central to movements like guard retention, escapes, and generating power. As The Garden MMA explains:
"A jiu-jitsu player with stiff hips is like a boxer who can't make a fist. Everything runs through them - guard retention, hip escapes, sweeps, triangles." [4]
Your hips play a key role in guard work and escapes, while your lower back absorbs a lot of stress during movements like bridging and inversions [4]. The IT band, a fascia running along the outer thigh, also benefits from foam rolling, but indirectly. Instead of rolling directly on the IT band, focus on the muscles around it, such as the TFL, glutes, and quadriceps, to improve stability and reduce tension [2][4].
Foam Rolling Tips for These Areas
- Hips and Glutes: Sit on the foam roller, cross one ankle over the opposite knee, and roll over the deep gluteal muscles. This technique targets tension effectively [2][3].
- IT Band Relief: Avoid rolling directly on the IT band. Instead, focus on the surrounding muscles like the TFL, glutes, and quads. This approach helps release tension without irritating the fascia [3].
- Lower Back: Never roll directly on your lower back. Instead, work on your thoracic spine (upper back) to alleviate pressure on the lower back [2][4].
Spend 60–90 seconds rolling each muscle group. If you find a particularly tender spot, pause there for 20–30 seconds to allow the tension to release [5]. For the best results, follow this sequence: start with the glutes, then move to the piriformis, target the IT band/TFL area, and finish with the hip flexors [5].
Tight hip flexors and weak glutes can lead to compensations in the lower back and knees, causing unnecessary strain [4]. By focusing on these areas, foam rolling helps address the root of movement issues, not just the symptoms.
3. Use Steady Pressure and Controlled Movements
After setting up your pre- and post-training routines, the next step is mastering steady pressure and controlled movements. These are key to effective foam rolling and muscle recovery. The technique matters just as much as the area you're targeting. Moving slowly and deliberately - about 1–2 inches per second - ensures you're applying enough pressure to engage your fascia. If you're rushing through a muscle group in under 30 seconds, you're likely not applying enough pressure to make a difference [1].
The amount of pressure you use is critical. Aim for a discomfort level of 6 or 7 out of 10 - enough to feel the release without crossing into pain. Too little pressure won’t be effective, while too much can cause bruising or even soft tissue damage [2]. Brian L., Co-Founder & Product Developer at 321 STRONG, emphasizes this point:
"Fast rolling is a form of massage that feels good but does not create lasting change in the fascia. The sustained pressure of slow rolling is what triggers the tissue response." [1]
When you encounter a tender spot or knot, pause for 5–10 seconds to let the adhesions release [1]. Adjust the intensity by shifting your body weight using your arms or the opposite leg. And don’t forget to breathe deeply through your nose - this helps you stay relaxed and avoid unnecessary tension.
Be cautious with sensitive areas like your lower back, and steer clear of joints such as knees and ankles [1]. Focus on the muscle belly, using small, controlled movements to minimize the risk of injury while maximizing the benefits of your foam rolling session.
| Technique Element | Recommended Standard | Purpose |
|---|---|---|
| Rolling Speed | 1–2 inches per second | Activates fascial tissue response [1] |
| Pressure Level | 6–7 out of 10 | Ensures effective release without trauma [1] |
| Pause Duration | 5–10 seconds on tender spots | Releases knots and adhesions [1] |
| Total Time | 60–90 seconds per muscle | Completes myofascial release [1] |
4. Breathe Through Your Nose While Rolling
How you breathe plays a big role in muscle relaxation and recovery. Breathing through your nose activates your parasympathetic system, which helps your body recover. On the other hand, mouth or chest breathing can create tension, working against your recovery efforts [6]. Holding your breath or breathing through your mouth sends a signal to your body to tighten up, preventing the muscles from releasing properly under the roller. Focusing on nasal breathing ties directly into your overall recovery plan.
From a scientific perspective, nasal breathing filters and warms the air while also improving oxygen uptake compared to breathing through your mouth [6]. Better oxygen uptake means faster recovery. Kyle Stull, NASM Faculty Instructor, explains it well:
"It is more important to relax and breathe than to apply heavy pressure to the point that relaxation is no longer possible." [7]
When you hit a tender spot, avoid the instinct to hold your breath. Instead, take slow exhales through your nose. This helps your nervous system reduce muscle tension, allowing the roller to work deeper into the tissue [1]. If you catch yourself switching to mouth breathing, return to nasal breathing as soon as you can [6].
Stick to the "nose-only" rule throughout your session [6]. When you stop on a sore area for the recommended 5–10 seconds, use that time to take at least one full, deep breath through your nose. If you find yourself clenching your jaw or holding your breath, it’s a sign the pressure is too intense - ease up and focus on keeping a steady nasal breathing rhythm [1].
This technique isn't just about staying relaxed during foam rolling. Training yourself to breathe through your nose and control your breath can improve your CO2 tolerance, which helps lower your heart rate during the intense demands of BJJ training [6]. By incorporating controlled nasal breathing, you’ll amplify the circulation and relaxation benefits of foam rolling, making it a recovery tool that directly supports your performance on the mats.
5. Combine with Stretching and Roll Regularly
Pairing foam rolling with stretching is a game-changer for recovery. This combo works perfectly with pre- and post-training routines, helping your muscles and fascia recover more effectively.
Here’s why it works: foam rolling targets the fascia, breaking up adhesions, while stretching lengthens the muscle fibers. Brian L., Co-Founder & Product Developer at 321 STRONG, explains it best:
"Foam rolling releases the fascia around the muscle, then stretching lengthens the muscle itself. Research shows the combination produces 20-30% better flexibility gains than either alone." [1]
For Brazilian Jiu-Jitsu (BJJ) practitioners, who rely on deep flexibility for techniques like guard inversions and triangles, this approach is especially important. The key is to roll first - this preps the muscles by addressing tight spots, making stretching safer and more effective. Research backs this up, showing that combining foam rolling with stretching not only improves flexibility but also reduces soreness better than doing either one alone [1].
Consistency is the secret sauce here. Instead of occasional long sessions, aim for 10–15 minutes of rolling after training and 20–30 minutes on rest days, focusing on areas like your quads, IT bands, upper back, and lats. Follow this with static stretching for optimal results [4]. Even a quick 10-minute session every day to ease overnight stiffness can make a huge difference - your fascia responds best to frequent, shorter sessions rather than sporadic, lengthy ones.
If you’re short on time, focus on essential movements like 90/90 hip switches, couch stretches, and cat-cow motions for about 10 minutes daily. This routine helps counteract the physical strain of grappling. Staying consistent with these habits can be the difference between a long, injury-free grappling career and burning out after just a few years.
Conclusion
Foam rolling has proven to be a reliable recovery method, backed by research showing it can cut delayed onset muscle soreness by about 30% and boost flexibility by roughly 10% when practiced regularly [1]. These benefits not only ease soreness but also help lower the risk of injuries.
Incorporating the five strategies outlined here - rolling before and after training, focusing on key areas like the hips and IT bands, using slow and controlled movements, practicing nasal breathing, and pairing foam rolling with stretching - can create a well-rounded recovery plan. The key to success lies in consistency rather than intensity. As Brian L., Co-Founder & Product Developer at 321 STRONG, explains:
Foam rolling done once a week produces minimal lasting results. The fascia responds to regular, repeated input. Daily rolling, even 5 to 10 minutes, produces compounding benefits over weeks and months [1].
Think of foam rolling as an essential part of your training routine, just like perfecting your techniques on the mats. Dedicate 5–15 minutes each day to foam rolling to support long-term recovery and reduce the likelihood of injuries.
For a list of trusted academies across the United States, check out the Brazilian Jiu-Jitsu Gyms Directory at https://bjjacademyfinder.com.
FAQs
What type of foam roller should I use for BJJ recovery?
When it comes to recovering from Brazilian Jiu-Jitsu training, a high-density foam roller is a must-have. Its firmness is perfect for effective self-myofascial release, which helps ease muscle tension and speeds up recovery after those intense sessions on the mat.
When should I skip foam rolling and see a professional instead?
If foam rolling doesn’t alleviate your discomfort or you’re dealing with persistent, severe, or sharp pain, it’s time to consult a professional. While foam rolling can be effective for easing tightness and mild soreness, ongoing pain or potential signs of injury shouldn’t be ignored. If your soreness worsens or fails to improve, reaching out to a healthcare provider is the safest and smartest step to take.
Can foam rolling help with tight knees or shoulder pain from BJJ?
Foam rolling can be a useful tool for easing tight knees and shoulder pain often experienced in Brazilian Jiu-Jitsu (BJJ). It helps by increasing blood flow, loosening up fascia (the connective tissue around muscles), and enhancing overall flexibility and mobility. When used consistently, foam rolling can aid recovery and alleviate discomfort, making it an excellent addition to your post-training routine.
Related articles
Share this article